How did you use media technologies in the construction and research, planning and evaluation stages?
I'll be breaking this question into stages from the beginning of production to end of production.
Research:
Before we could begin to film our music video, I had to research on what the conventions of a music video are in general and within our genre. For this I had used blogger to keep track all of our research that I had found and found multiple music videos on Youtube to support our findings and points.
This were two theory that we had to researched about and it was Carol Vernallis and Muvley
Lip Syncing:
After doing some researching by using the internet, we then went into a testing for our lip syncing skills before filming the actual music video.
This is our 50 second Music video that we have to produce to see how much we know about lip syncing.
The improvements that I wish I could do is that if we had more time to produce this 50 sec MV, but other than that, I think we done a pretty good job with the time we had to film this 50 second MV
Researching more about our Music Video:
After we had finished our lip sync practical and was pleased with the outcome. We then started thinking of our own music video, as a group we had to research and blog about everything we planned to involve within our music video, this included things such as, what equipment we will be using, location, concept, costume, props, synergy, our target audience, social media that we would plan use, draft digipaks, storyboards, a production schedule that we will plan to stick to and more. Whilst making all this research we would use applications such as prezi and slideshare so it was a lot clearer to present our information.
Pre-production:
Storyboard was needed for our production.
 Page 1
 Page 2
Page 3
Page 4
After making a storyboard, we then made a production schedule on Timetoast.
Production:
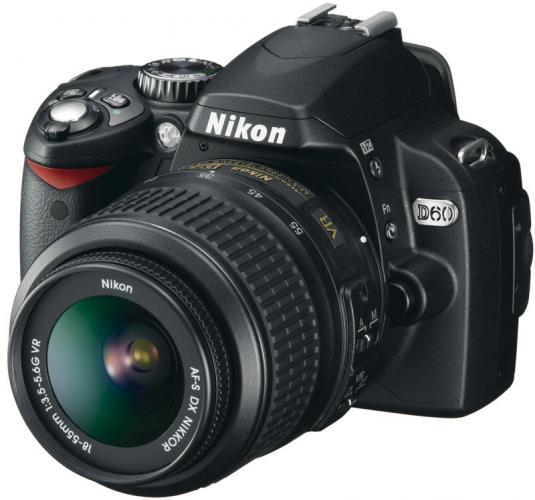
Equipments that we used for our production.

We used a DSLR rather than a Film camera as we all agree to use a DSLR as I explained why we should use one. A DSLR is able to change settings that can make the filming or Music Video at a high quality. The college provided us with this DSLR and in addition, they change the lens for it which means better zoom-in, better focus and better quality than the Film camera.
We wanted to make sure that DSLR filming settings was suitable for final cut pro, we done a little film testing with the DSLR.
A Figrig for stabilisation while filming.
Mini Speakers to listen to the sound track during production, that we picked out and for the artist to lip sync the lyrics.
During Production, we wanted to keep up to date with the audience, so we took some sneak peak images for audience to stay in touch with us.
Editing:
Right after filming all our footages that we needed during production, we then headed to the editing suite where we can edit our Music Video. We used Macs as Final Cut pro is only available on macs. During Post-production, we downloaded the sound track and added to the timeline, after that we added the footages on the timeline where want them to be.
This will be a standard draft where all the footage is on the timeline. After being happy where all the footage is, we then edited by cutting the footages precisely.
Took 3 weeks ( 4.5 hours per week ) to have the final draft finished. After showing it to the class, we then recorded a feedback from the class for the draft before actually finishing the editing.
Ancillary:
After finishing the editing, we then headed to creating/producing our Digipak and Advertisement for our brand new artist. We all used Photoshop with a template to guide our way making the Digipak. In every creation or producing, we had to do some research with real products that has been released to get inspired by or to look at as a guidance.


.jpg)
.jpg)


.jpg)


